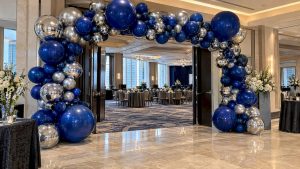
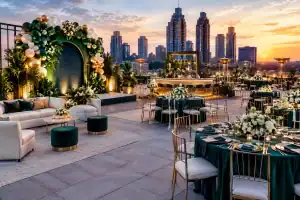
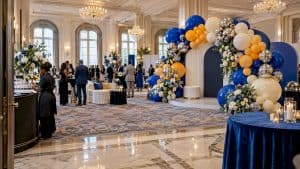
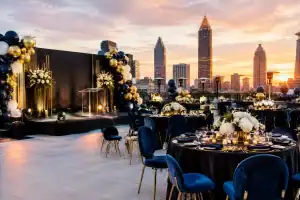
The best sponsor walls put photo quality first and treat logos as a confirming detail, not the whole show. That means scale, lighting, and material choices come before any logo placement decision. Atlanta Balloon Designer builds these as photo-first installations from day one, and we tell every planner the same thing: brief your photo-moment needs in week one, right alongside your floor plan, or you’ll be retrofitting a backdrop that never quite works.
TL;DR:
- Using a staggered logo grid with clear size ratios ensures all sponsors are visible and legible without cluttering the photo space.
- Matte tension fabric is the preferred material indoors for its ability to diffuse flash and prevent hot spots, especially for press or broadcast use.
- Proper balloon framing along the edges of the sponsor wall can enhance visual impact without covering or obstructing logos.
- Starting concept approval six to four weeks before the event and securing fabrication three weeks in advance help prevent delays or last-minute compromises.
- Leave at least five feet of clear access and avoid steps or raised platforms to ensure full accessibility for all guests.
Table of Contents
- Sponsor Wall Ideas: 8 Creative Concepts and When to Use Each
- What Size, Material, and Logo Layout Work Best?
- How to Combine Balloon Installations With Sponsor Walls
- Production Brief, Timeline, and Budget Line Items
- Accessibility Considerations for Sponsor Wall Placement
- Common Mistakes to Avoid When Designing Sponsor Walls
- Kay’s Practical Tips From Atlanta Events
- Let Atlanta Balloon Designer Build Your Sponsor Wall
- Sources
- FAQ
Sponsor Wall Ideas: 8 Creative Concepts and When to Use Each
Every sponsor wall concept below solves a different production problem. Pick based on your venue, your sponsor tier structure, and how many people need to stand in front of it at once.
- Step-and-repeat, elevated with texture. The classic gala and press-line format still works because editors and photographers know how to shoot it. Elevate it beyond a flat vinyl print by staggering the logo grid and adding a textured or dimensional surface behind it.
- Balloon-anchored logo wall. Organic garlands frame the logo field on both sides without crossing into it. This is where balloon design and sponsor visibility meet, and it’s one of the most requested formats we build.
- Immersive vignette. A staged scene, complete with props, a defined color story, and furniture, with the sponsor logo inset rather than dominant. Lifestyle brands love this because the photo reads as a moment, not an ad.
- Backlit SEG fabric wall. Silicone-edge-graphic fabric with concealed LED backlighting delivers a glare-free, wrinkle-free face that holds up on camera and on broadcast. This is the format to request when press coverage or livestreaming is part of the plan.
- Oversized sculptural hero. One large focal object, a balloon arch, a marquee number, an abstract shape, carries the visual weight while a single logo confirms the sponsor. Guests remember the shape long before they remember the brand mark, which is exactly the point.
- Modular quick-swap system. Magnetic tiles or Velcro tier bands let you update sponsor logos between sessions or annual events without a full reprint. This saves real budget for recurring conferences and multi-day activations.
- Interactive or AR-enabled wall. A trigger, a QR code, or an augmented-reality overlay tied to the backdrop drives measurable share rates and gives marketing teams a way to track campaign performance beyond guest counts.
- Branded entry threshold with balloons. The very first photo opportunity, positioned at arrival, sets the tone for the whole event and gives sponsors visibility before guests even reach the main room.
Pro Tip: Pick one hero concept for the main stage photo wall and a simpler modular version for a secondary or VIP area. Trying to make one wall do both jobs almost always compromises the photo quality on the main stage.
What Size, Material, and Logo Layout Work Best?
Sponsor walls succeed or fail on specifications most planners never think to ask about until the quote comes back wrong.
Sizing. An 8-foot wall height is the industry standard for event backdrops, and an 8×8-foot footprint handles solo shots and couples cleanly. Bump up to 8×10 or 8×12 feet for small groups and award presenters. Broadcast setups and large sponsor walls with multiple simultaneous photo opportunities typically run 10 to 20 feet wide.
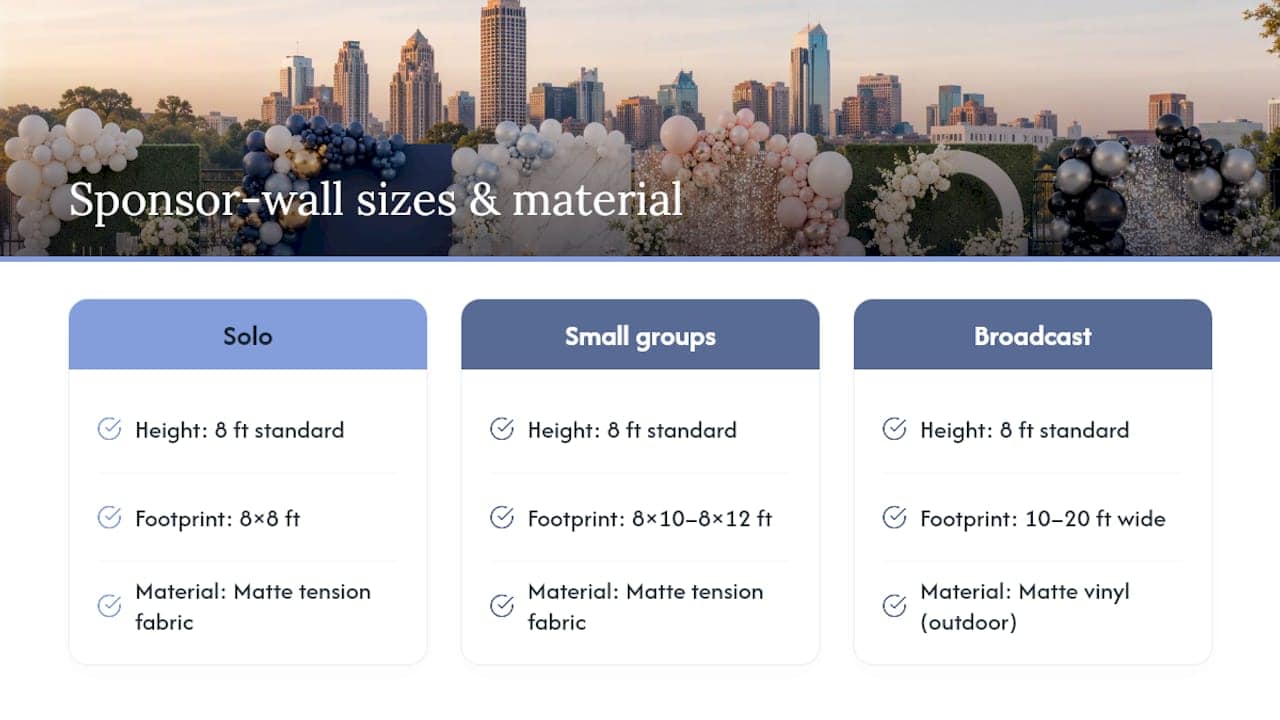
Material. Matte tension fabric, sometimes called pillowcase or SEG fabric, is the preferred indoor choice because it diffuses camera flash instead of bouncing it back into the lens. Save heavyweight matte vinyl for outdoor installations or anywhere weather is a factor. Skip glossy prints entirely; they turn every flash into a hot spot in the final image.
Logo grid. A staggered grid offset by 50 percent keeps at least one full logo visible beside a subject’s head and shoulders no matter where they stand. Sponsors expect readable placement, and clear size ratios protect perceived value across tiers, typically 1.0 to 0.75 to 0.6 scale from top-tier down.
Lighting. Two soft lights positioned at 45 degrees plus a front-fill at face height flatter portraits far more than washing the entire wall in light, and this setup reduces backdrop hot spots that ruin otherwise good shots.
A wall that reads as a scene, not a logo banner, is what actually gets shared. The logo is confirmation, not the headline.
Hardware. Pillowcase frames pack flat and steam out fast; telescopic frames suit tight load-ins; SEG frames need a bit more setup time but deliver the cleanest edge. Check your venue’s ADA clearance requirements before finalizing footprint.
How to Combine Balloon Installations With Sponsor Walls
Balloon design and sponsor visibility are not in competition when the installation is planned correctly; this harmony is also key in vibrant food presentations at hospitality events. The rule we follow on every build: frame, don’t cover.
- Position garlands and balloon clusters along the outer edges of the wall so they frame the logo field instead of crossing into it.
- Keep the central logo area completely clear. If a cluster drifts into that zone during install, move it before the first guest arrives.
- Choose metallic, jewel-toned, or textured matte finishes for balloons near the photo zone. These elevate the image without throwing glare the way glossy balloons can under flash.
- Simplify any printed logo before it goes on a curved balloon surface, and place it at eye level where the camera will actually catch it.
- Use air-filled anchor systems for anything running multiple days; save helium for short-run ceiling clusters that only need to hold for a single evening.
Pro Tip: Diffuse your front-fill light rather than aiming it straight at the balloons. Direct light creates specular hot spots on latex that flatten the sheen in photos, exactly the effect you’re paying to avoid.
Production Brief, Timeline, and Budget Line Items
A one-page brief gets you an accurate quote faster than any phone call. Include these fields before you send anything to a fabrication partner:
- Event type, guest count, and expected photo flow (single line versus multiple stations)
- Sponsor tier structure and final logo files in vector format
- Maximum ceiling height and any load-in window restrictions
- Venue lighting conditions and whether natural light will hit the photo zone
Work backward from the event date. Concept and sponsor approvals need six to four weeks out. Fabrication and printing happen three to two weeks before the event. Install and a dress rehearsal walk-through belong in the final day before doors open.
Budget line items typically include the design fee, fabrication and printing, balloon materials and inflation labor, lighting rental, on-site install labor, and a technician if the wall includes any interactive or AR component. The risks that blow up a timeline most often: sponsor logos arriving late, venue lighting conflicting with your planned setup, and load-in windows that get cut short by the venue schedule ahead of yours. Demand mitigation language for all three in your vendor’s quote before you sign.
Accessibility Considerations for Sponsor Wall Placement
Sponsor walls need to work for every guest, not just the ones who move easily through a crowd. Placement matters more than most planners realize until someone in a wheelchair can’t get close enough to the logo plane for a usable photo.
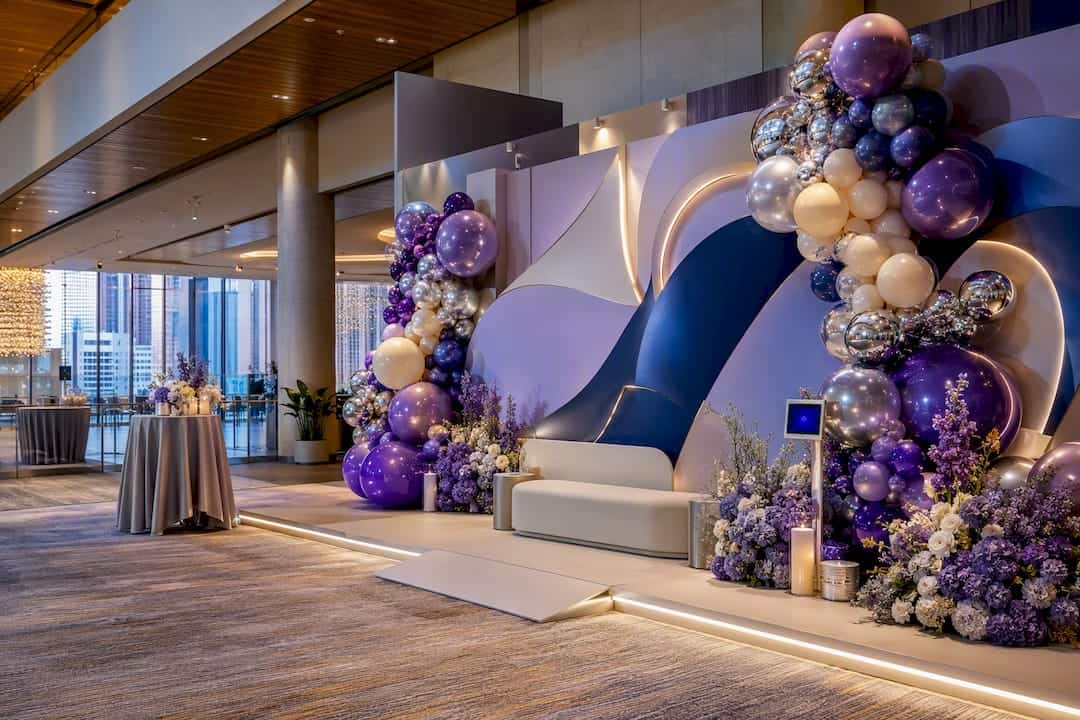
Leave a minimum 5-foot clear approach in front of the wall, wider if your guest list includes wheelchair users or guests with mobility aids. Avoid placing the photo zone on a raised platform unless a ramp is built into the plan; a single step can quietly exclude a portion of your guest list from ever using the wall. Check floor surfaces too. Cable runs for lighting rigs should be taped flat or routed overhead, never left as a tripping hazard across the approach path.
Height matters for interaction, not just for camera angle. If your wall includes a trigger, a QR code, or any touch element, mount it at a height reachable from a seated position, generally between 36 and 48 inches from the floor. Signage identifying the photo zone should use high-contrast text large enough to read from a distance, which helps guests with low vision find the moment without having to ask.
Good accessibility planning rarely costs more once it’s built into the initial brief. It costs a great deal more when it’s added after the wall is already fabricated and installed.
Common Mistakes to Avoid When Designing Sponsor Walls
Most sponsor wall problems trace back to decisions made weeks before install day, not mistakes on-site.
The most common one: prioritizing logo count over photo quality. Cramming twelve sponsors onto an 8×8-foot wall at full size guarantees a cluttered image nobody wants to post. Scale logos by tier and trust the staggered grid to give every sponsor fair visibility.
Glossy print stock is the second recurring error. It looks premium on a proof sheet and photographs terribly under any flash or overhead lighting, turning every portrait into a wall of hot spots.
Ignoring venue ambient light is the third, and arguably the costliest, because it’s invisible until the event is underway. Ambient venue lighting kills a planned photo moment more often than bad composition ever does. Walk the room at the actual event time, not during a midday site visit, and control or block competing light sources before guests arrive.
Skipping a dress rehearsal is the fourth. Fifteen minutes with a stand-in subject reveals logo grid gaps, lighting hot spots, and balloon placement issues that are far cheaper to fix before doors open than during the event itself.
Kay’s Practical Tips From Atlanta Events
Brief your fabrication partner the moment your floor plan is set, not after. The same shop that builds your stage backdrop should build your photo moment; splitting that work between two vendors is where color mismatches and logo scale errors creep in.
Atlanta venues bring their own quirks: tight load-in windows, low ceiling battens in older ballrooms, and skylights that flood a room with unpredictable afternoon light. Check all three before you finalize a wall size.
Three things I never skip: photo-first lighting over wall-wash lighting, a logo plane that stays completely unobstructed, and one fabrication shop handling the entire build.
— Kay
Let Atlanta Balloon Designer Build Your Sponsor Wall
Atlanta Balloon Designer is the direct route to a sponsor wall that photographs well and holds up through a full event, without you managing three separate vendors for balloons, fabrication, and lighting. We handle custom balloon backdrops, full production, lighting rental, fabrication coordination, and install and removal as one coordinated build, which means your logo grid, your balloon framing, and your lighting plan are designed together instead of bolted on at the last minute.
If you’re planning a corporate gala, product launch, or milestone celebration anywhere in the Atlanta metro and within roughly 60 miles of Austell, send us your floor plan, load-in window, and sponsor logos. We’ll turn that into a portfolio review and a real estimate, not a placeholder quote. Browse our creative decoration ideas for more balloon concepts, or head straight to our luxury balloon décor gallery to see finished installations. Call 678.203.0200 or visit atlantaballoondesigner.com to get your sponsor wall on our production calendar.
Sources
- Photo Moment Design: Engineering Shareable Brand Activations – Pop Up Your Brand
- Step and Repeat Backdrop for Events: The Complete Sizing, Material, & Setup Guide | vancke
- Step and Repeat Banners: The Complete 2026 Guide – C17media
FAQ
What Size Should a Sponsor Wall Be?
An 8-foot-tall wall is standard, with an 8×8-foot footprint for solo and couple shots. Group photos need 8×10 to 8×12 feet, and broadcast setups often run 10 to 20 feet wide.
What Material Photographs Best for a Sponsor Wall?
Matte tension fabric, also called pillowcase or SEG fabric, is the preferred indoor choice because it diffuses flash instead of reflecting it. Heavyweight matte vinyl works better outdoors.
Can Balloon Installations Work With Sponsor Logos?
Yes. Balloon garlands and clusters should frame the logo field along the edges rather than cover it, keeping the central grid clear so sponsor logos stay fully visible in photos.
How Far in Advance Should I Book a Sponsor Wall Vendor?
Start concept and sponsor logo approvals six to four weeks before the event, with fabrication happening two to three weeks out. Booking Atlanta Balloon Designer early secures your preferred install date and gives enough time for a proper dress rehearsal.
What’s the Biggest Mistake Planners Make With Sponsor Walls?
Overcrowding the logo grid to fit every sponsor at full size, which clutters the photo and hurts every sponsor’s visibility instead of helping it. Staggered, tiered scaling solves this without cutting any sponsor from the wall.