TL;DR:
- A balloon photo wall provides a dense, vertical backdrop that enhances photos with three-dimensional texture and vibrant colors. It can be built DIY or by professionals for event branding, celebrations, or statement décor, with styles ranging from organic clusters to precise mosaics. Proper inflation consistency and color discipline are key to achieving a professional, photogenic appearance.
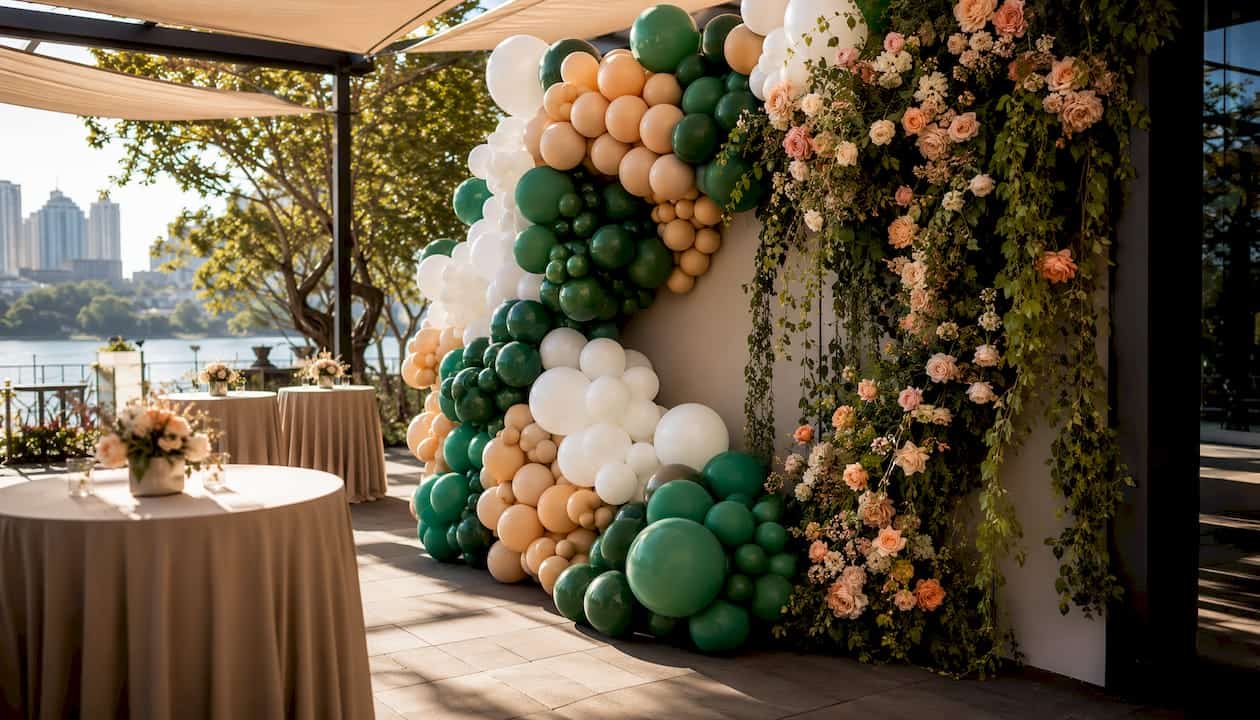
A balloon photo wall is a dense, floor-to-ceiling vertical installation of balloons arranged as a continuous backdrop designed specifically for photography. Guests walk in, see it, and reach for their phones — that immediate reaction is exactly the point. Whether you’re planning a branded corporate activation in Buckhead, a milestone birthday in Marietta, or a baby shower in Alpharetta, a balloon photo wall gives you a stunning, three-dimensional photo zone that no printed vinyl backdrop can match.
Here’s what you need to know at a glance:
- Photo backdrop: A dedicated moderate-width panel behind a dessert table or photo area at parties and showers.
- Branded activation: A full large wall at corporate galas, grand openings, or experiential marketing events where guests share images that extend your brand reach.
- Statement décor: A room-transforming installation at weddings, graduations, or luxury milestone celebrations.
If you have two hours, basic supplies, and a 6’×6’ space, you can build one yourself. If your event demands exact color matching, a 10-foot ceiling, and zero setup risk, hiring a luxury local team is the smarter call. Keep reading to decide which path fits your event.
Table of Contents
- What are the main styles of balloon photo walls?
- Why balloon photo walls work so well for photos and event marketing
- What materials and balloon counts do you actually need?
- How do you install and attach a balloon photo wall?
- Styling choices and photographer tips for the best photos
- How much does a balloon photo wall cost, and should you DIY or hire?
- How to build a 6’×6’ organic balloon photo wall yourself
- Key Takeaways
- The real reason most DIY balloon walls disappoint
- Camera-ready balloon walls for Atlanta events, done for you
- Useful sources and further reading
- FAQ
What are the main styles of balloon photo walls?
Not every balloon photo wall looks the same, and the style you choose shapes everything from install time to photo quality. Here are the five core families:
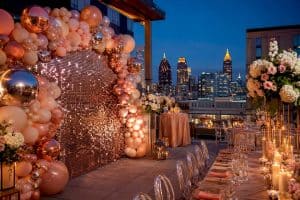
Organic wall. Clusters of mixed-size latex balloons in irregular, flowing arrangements. No rigid pattern, lots of depth and texture. Best for birthdays, baby showers, and boho-style celebrations. Highly photogenic because the uneven surface catches light beautifully.
Floating (helium) wall. Helium-filled balloons tethered at consistent heights to create a cloud-like curtain effect. Visually airy and elegant, but helium float life is limited (typically 8–12 hours for latex), which makes it better suited to shorter events or ceremonies rather than all-day activations.
Mosaic or tiled wall. Balloons arranged in a precise geometric grid or pattern, often spelling out numbers, letters, or brand logos. Crisp and graphic in photos. Requires more planning time but delivers a polished, branded look that works well for corporate events and milestone number celebrations.
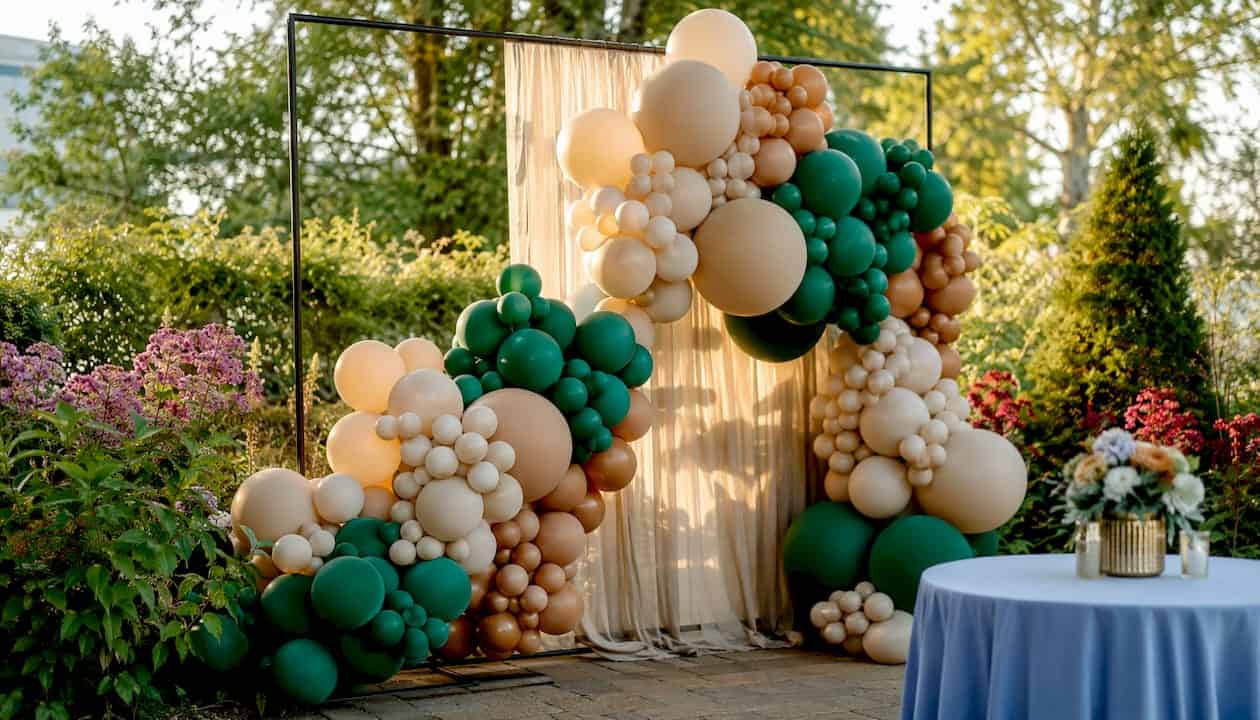
Framed or fabric-backed wall. Balloons attached to a fabric or foam board panel stretched over a rigid frame. Portable, self-contained, and easy to reposition. A solid choice for venues where you cannot mount anything to the walls, such as hotel ballrooms or historic properties.
Column-based or step-and-repeat alternative. Two or more balloon columns flanking a printed or plain backdrop, creating a photo zone without covering the full wall. Lower cost and faster to install than a full wall, though the visual impact is more modest. Works well as a secondary photo station at larger events.
For photography, position any of these styles so the face of the wall receives soft, diffused light rather than direct backlighting. Organic and mosaic walls tend to produce the richest depth in photos because their uneven surfaces create natural highlights and shadows.
Why balloon photo walls work so well for photos and event marketing
Balloon walls create three-dimensional texture that catches light differently than flat fabric or vinyl backdrops, producing natural highlights and depth that make subjects pop in photos. That physical dimension is something a printed backdrop simply cannot replicate.
From a photography standpoint, the benefits stack up quickly:
- Depth and dimension: The irregular surface of an organic wall creates foreground and background layers that add visual richness to every shot.
- Color saturation: Latex balloons hold vivid color without the wrinkling or fading that fabric backdrops develop under event lighting.
- Lighting forgiveness: Balloon surfaces maintain texture across lighting conditions, though metallic balloons can create glare if positioned directly under a spotlight.
- Guest engagement: A stunning wall draws guests in and keeps them there, generating organic social sharing that extends your event’s reach well beyond the room.
For corporate planners, the marketing value is real. Balloon photo walls act as visual anchors at brand-led events, encouraging guests to stop, pose, and share images on social media. Placed at an entrance or a high-traffic zone, they define guest flow and put your brand in every shared photo. For more on how this plays out at corporate events, see balloon décor for corporate events.
Pro Tip: Position your balloon wall so it faces the room’s primary natural light source. For evening events, add a pair of soft uplights at 45-degree angles to the wall’s face — this eliminates flat shadows and keeps skin tones warm in photos without triggering metallic glare.
What materials and balloon counts do you actually need?
Getting the supplies right before you start saves you two trips to the store and one very stressful hour on event day. Here’s what a well-stocked build requires:
Core materials: 11-inch latex balloons (your primary building block), 5-inch latex balloons (gap fillers), 16-inch latex balloons (focal accents), foil balloons for logo or number accents, balloon decorating strip, glue dots or command hooks, an electric inflator, Hi-Float sealant for helium builds, and a freestanding adjustable metal backdrop stand if the venue prohibits wall mounting.
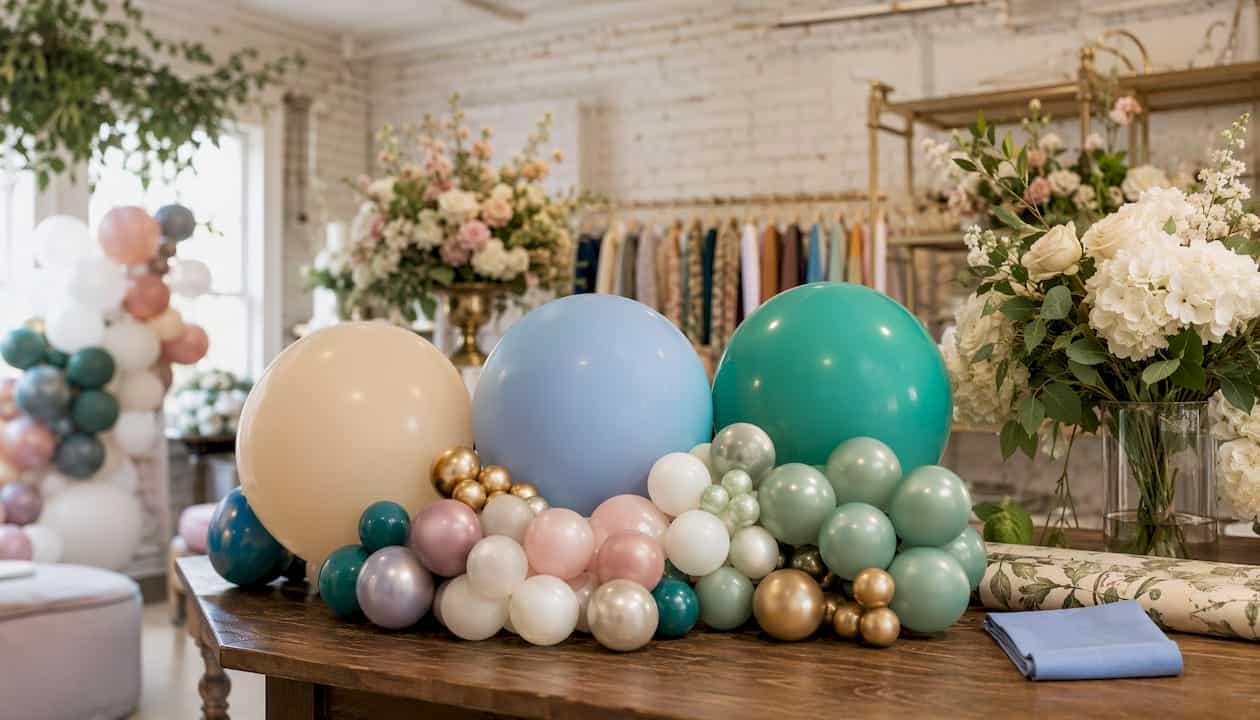
Professional teams mix balloon sizes by layering 5-inch fill balloons into the gaps between 11-inch or 16-inch base clusters, and they use electric inflators to keep air volume consistent across every balloon. That consistency is what separates a lush, high-end look from a lumpy amateur build.
On helium versus air: for a photo wall, air wins almost every time. Air-filled balloons are cheaper, last 3–7 days indoors, and stay exactly where you put them during setup. Helium is better suited to floating ceiling clouds and bouquets.
| Wall Size | Approx. Balloon Count | Estimated Setup Time | Best For |
|---|---|---|---|
| 6’×6’ wall | 180–220 balloons | 60–90 minutes | Small parties and photo ops |
| 8’×8’ wall | 300–360 balloons | 90–120 minutes | Standard backdrops for showers and mid-size events |
| 10’×10’ wall | 450–550 balloons | 120–180 minutes | Weddings, galas, and corporate activations |
| Extra-large rectangular wall | Over 550 balloons | Several hours | Statement walls and large venue transformations |
Balloon counts based on common sizing guidance for standard organic-style builds using mixed smaller and larger balloons.
How do you install and attach a balloon photo wall?
Three main methods cover almost every venue scenario. Choose based on your surface, venue policy, and whether the wall needs to travel.
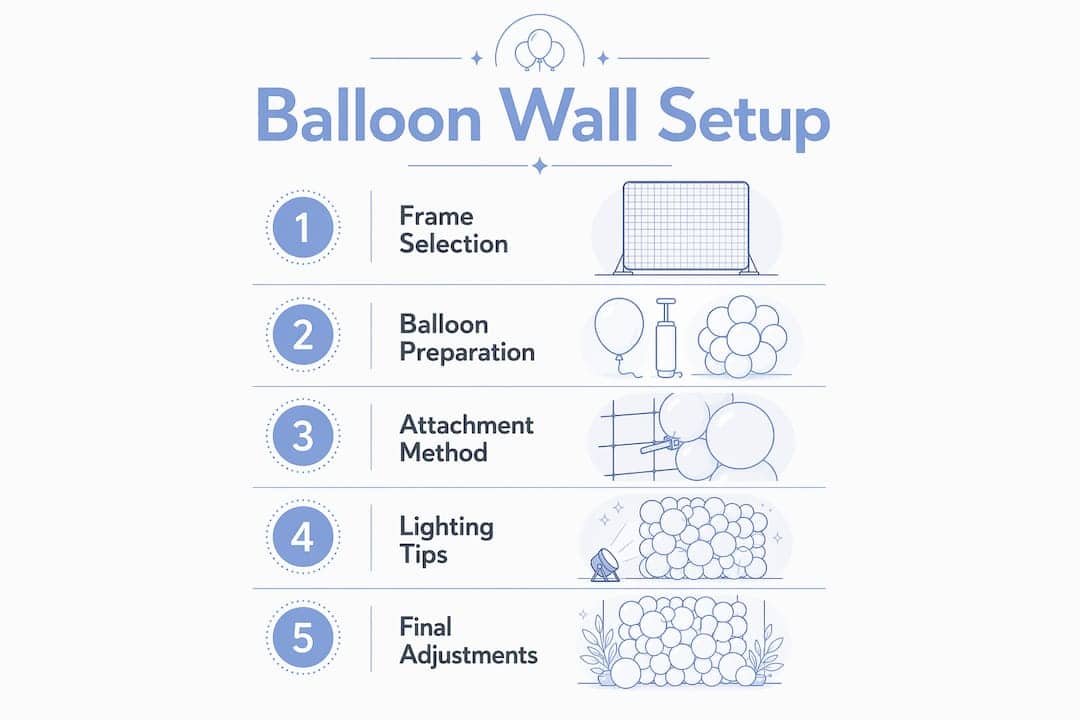
Method 1: Freestanding adjustable frame. A metal backdrop stand holds the balloon grid or panel without touching the venue walls. Best for hotel ballrooms, historic properties, and outdoor tents. Setup sequence: assemble the frame, attach balloon decorating strip horizontally across the crossbar, inflate and tie balloons in clusters, then press clusters onto the strip working from the bottom up.
Method 2: Wall-mounted grid or strip. Balloon decorating strip is secured directly to the wall using command hooks or removable adhesive. Faster than a frame build and gives a cleaner edge-to-edge look. Always confirm with the venue that removable adhesives are permitted before committing to this method.
Method 3: Pre-built panel delivery. Full balloon walls can be pre-built off-site and delivered as complete pieces, eliminating on-site construction and event-day disruption. This is the approach luxury vendors use for large installs. The panel arrives, gets positioned against the wall or on a frame, and the room is ready.
| Method | Best Venue Type | Setup Time | Crew Needed |
|---|---|---|---|
| Freestanding frame | Hotels, tents, historic venues | Add 20–30 min to balloon build time | 1–2 people |
| Wall-mounted strip | Private homes, event halls with paint-safe walls | Minimal extra time | 1 person |
| Pre-built panel delivery | Any venue, large-scale installs | 15–30 min on-site | 2 people |
Safety and venue notes: Check ceiling height before ordering a frame (standard stands go to 12 ft; custom heights cost more). Keep the installation clear of fire exits, HVAC vents, and sprinkler heads. Latex balloons near heating vents pop unexpectedly and can startle guests. For venue-specific coordination in the Atlanta area, the balloon décor venue coordination guide covers common venue policies across Cobb County, Fulton County, and surrounding communities.
Styling choices and photographer tips for the best photos
Color is the first decision, and it shapes every photo taken in front of your wall. The most reliable formula is the 60-30-10 rule: 60% base color, 30% secondary shade, and 10% metallic or bold accent. That ratio creates visual interest without chaos.
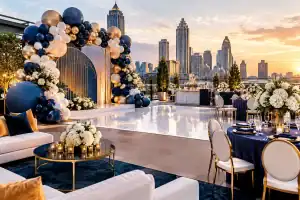
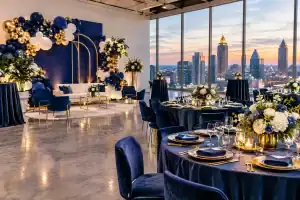
Current trends favor organic aesthetics, neutrals and boho palettes, bold metallics, and soft pastels, each chosen to evoke a specific emotional tone. Earthy neutrals with pampas grass accents suit boho baby showers and rustic weddings. Deep jewel tones (emerald, sapphire, burgundy) photograph richly at evening galas. Chrome and gold metallics read as luxury in brand activation photos. Soft blush and ivory pastels keep the focus on the subject at first birthday parties.
Balloon walls are versatile in design: single-color, color-blocked, gradient ombre, geometric patterns, and mixed-media builds that incorporate florals, greenery, or neon signs all photograph well. A neon sign or monogram letter mounted in front of the wall gives guests a natural focal point and adds a second layer of visual interest to every photo.
For lighting: at daytime events, position the wall so it faces a window or diffused natural light source. At night, two soft spotlights or uplights at 45-degree angles to the wall face produce warm, even illumination. Avoid placing metallic balloons directly under a hard spotlight — the glare flattens the image. For more design inspiration, explore balloon backdrop design ideas and setup tips.
How much does a balloon photo wall cost, and should you DIY or hire?
Cost ranges vary by size, complexity, and whether you’re building it yourself or commissioning a professional team.
A DIY build for a standard 6’×6’ party wall typically runs $60–$120 in materials. A professional install of the same size generally starts around $300–$600. Larger statement walls for corporate events or weddings scale significantly higher, with starting price examples and install timelines varying by venue access, custom color matching, and add-ons like signage or florals.
What drives the price up:
- Custom color matching to brand or Pantone standards
- Add-ons: neon signs, marquee letters, floral accents, greenery
- Delivery distance and venue access complexity
- Last-minute booking or changes to scope
- Pre-built panel delivery versus on-site assembly
Hire vs. DIY decision checklist:
| Situation | Hire a Pro | DIY |
|---|---|---|
| Corporate or branded event | ✓ | |
| Exact color matching required | ✓ | |
| Venue has strict damage policies | ✓ | |
| Budget around $60–$120 | ✓ | |
| Intimate gathering, flexible timeline | ✓ | |
| First-time builder, low-stakes event | ✓ | |
| 10’×10’ or larger installation | ✓ |
Hiring a luxury local vendor like Atlantaballoondesigner adds portfolio proof, exact color-matching, and timeline reliability that a first-time DIY build cannot guarantee. For turnkey delivery and setup, a professional team handles logistics from load-in to breakdown, which matters enormously when you’re managing a full event day.
How to build a 6’×6’ organic balloon photo wall yourself
This is the right starting size for a first build. It teaches you everything the larger walls require, and you can finish it in under 90 minutes with one helper.
Materials for a 6’×6’ wall:
- A substantial number of eleven-inch latex balloons (your primary color mix)
- A smaller number of five-inch latex balloons (gap fillers)
- Balloon decorating strip
- Glue dots or command hooks
- Electric inflator (significantly speeds inflation compared to a hand pump)
- Scissors and a low-temp glue gun for securing accent pieces
Build steps:
- Inflate base balloons (20–25 min). Using the electric inflator, inflate all 11-inch balloons to a consistent size. Tie off each one. Consistent volume is what makes the wall look dense and professional rather than lumpy.
- Create clusters (15–20 min). Twist groups of four 11-inch balloons together at their necks to form quad clusters. These are your primary building blocks.
- Attach strip to wall or frame (5 min). Secure the balloon decorating strip horizontally across your frame or wall surface using command hooks. Work from the bottom up.
- Mount clusters to strip (20–25 min). Press each quad cluster onto the strip, threading balloon necks through the holes. Alternate cluster orientations slightly to build an organic, uneven surface.
- Fill gaps with 5-inch balloons (10–15 min). Inflate the small filler balloons and press them into visible gaps using glue dots. This step is what creates the lush, high-density look that separates a professional finish from a sparse DIY attempt.
- Final check and adjust (5 min). Step back 8–10 feet and look for obvious holes or uneven patches. Add fillers or reposition clusters as needed.
Total time: 75–90 minutes solo; 60–75 minutes with one helper.
Common pitfalls: Uneven inflation is the top culprit for a lumpy wall — use the electric inflator and inflate to the same pressure every time. Gaps appear most often at the edges; plan to use extra 5-inch fillers along the perimeter. For themed special occasion balloon ideas, mixing in a few foil accent balloons at the top third of the wall adds a polished focal point without much extra effort.
Key Takeaways
A balloon photo wall delivers the most photo impact when you match the style, size, and color palette to your venue and event tone before you buy a single balloon.
| Point | Details |
|---|---|
| Size drives balloon count | A 6’×6’ wall needs 180–220 balloons; a 10’×10’ needs 450–550 for full organic coverage. |
| Air beats helium for walls | Air-filled balloons last 3–7 days indoors, cost less, and stay in place during setup. |
| 60-30-10 color rule | Use 60% base color, 30% secondary, and 10% metallic accent for photos that work every time. |
| Hire when stakes are high | Corporate events, exact color matching, or walls 10’×10’ and larger are best left to a professional team. |
| Atlantaballoondesigner | Serves Atlanta and surrounding communities within a 60-mile radius with turnkey luxury balloon photo walls. |
The real reason most DIY balloon walls disappoint
Here’s what most guides won’t tell you: the gap between a stunning balloon photo wall and a forgettable one almost never comes down to the balloons themselves. It comes down to inflation consistency and color discipline.
Most first-time builders inflate by feel, which means balloon sizes vary by 20–30% across the wall. That variation is what creates the lumpy, uneven surface that reads as “DIY” in photos. The fix is simple: use an electric inflator with a consistent pressure setting and inflate every balloon to the same size before you touch the wall. The wall practically builds itself after that.
The second mistake is color. Planners often buy whatever shades look good in the store and end up with a wall that photographs muddy or clashes with the guest’s outfit. The 60-30-10 rule exists precisely because it forces you to commit to a dominant color before you start. Decide your palette first, buy accordingly, and your photos will look intentional rather than accidental.
The organic balloon aesthetic that dominates event design right now is genuinely forgiving of minor imperfections — the irregular shapes are the point. But it is not forgiving of inconsistent inflation or an undisciplined color mix. Get those two things right, and even a first-time builder can produce a wall that looks like it cost three times the materials.
Camera-ready balloon walls for Atlanta events, done for you
Atlantaballoondesigner is the turnkey alternative to a DIY build for planners and hosts across Atlanta, Marietta, Smyrna, Roswell, Alpharetta, Decatur, and surrounding communities within a 60-mile radius. Where a DIY build trades your time for savings, our team delivers a fully installed, color-matched balloon photo wall with zero event-day stress on your end.

Getting a quick estimate takes three pieces of information: your event date and venue, your approximate wall size and style preference, and any brand colors or theme details. From there, we handle color sourcing, pre-build, delivery, and on-site installation. Our luxury balloon décor and delivery setup service covers everything from a 6’×6’ birthday backdrop to a 20-foot corporate statement wall. For design inspiration before you reach out, browse our creative event decoration ideas to see the full range of styles and color palettes we’ve built for clients across the Atlanta metro area.
Ready to book? Call us at 678.203.0200 or visit atlantaballoondesigner.com to request a quote and check availability for your event date.
Useful sources and further reading
- Balloon Walls vs. Traditional Backdrops: Which Looks Better in Photos? — Foto Vibe — Covers photography benefits of three-dimensional balloon surfaces versus flat backdrops, including lighting behavior and color saturation.
- Balloon Wall/Backdrop: 13 Quick Answers — Austin Balloon Party — Practical balloon-count tables and setup time estimates for common wall sizes; useful for materials planning.
- DIY Balloon Backdrop Wall: A Beginner’s Step-by-Step Guide — Starry Sky Balloon — Detailed beginner guide covering attachment methods, balloon counts per square foot, and the 60-30-10 color rule.
- Transformative Balloon Photo Backdrops — Table Art — Explains pre-built wall delivery, marketing value for corporate events, and guest engagement benefits.
- Balloon Backdrop Ideas for Photo-Worthy Moments — Ballou Designs — Design options including single-color, ombre, geometric, and mixed-media builds with event-style application notes.
- Top Balloon Decor Trends — iParty and Bounce — Current palette and aesthetic trends including organic, boho, metallics, and pastels with emotional tone guidance.
- Balloon Wall Systems Techniques — Nicrocn — Technical guidance on mixing balloon sizes and using electric inflators for consistent, high-density builds.
- Photo Booth Backdrops for Memorable Events — RMD Photo Booths — Photo-booth engagement and branding metrics; useful context for how backdrops drive social sharing and brand impressions.
- Balloon Decor Venue Coordination: A Planner’s Guide — Atlantaballoondesigner — Atlanta-area venue policies, ceiling heights, and coordination tips for balloon installations across Cobb County and surrounding communities.
FAQ
What is a balloon photo wall?
A balloon photo wall is a dense vertical installation of balloons forming a continuous backdrop designed for photography and social media sharing. It can range from a 6-foot party backdrop to a 20-foot floor-to-ceiling statement wall at corporate galas.
How many balloons do you need to make a balloon wall?
Count on 180–220 balloons for a 6’×6’ wall, 300–360 for an 8’×8’, and 450–550 for a 10’×10’ organic-style build using mixed 5-inch and 11-inch latex balloons.
How do you attach a balloon wall without damaging the venue?
The three main options are a freestanding adjustable metal frame (no wall contact), removable command hooks with balloon decorating strip, or a pre-built panel delivered and leaned into position. Always confirm the venue’s adhesive policy before committing to a wall-mounted method.
What are the latest balloon backdrop trends?
Organic balloon aesthetics, earthy neutrals and boho palettes, bold metallics, and soft pastels are the dominant styles right now, with mixed-media builds incorporating florals, greenery, and neon signs gaining popularity across weddings and corporate activations.
How long does it take to set up a balloon photo wall?
A 6’×6’ wall takes 60–90 minutes; an 8’×8’ takes 90–120 minutes; and a 10’×10’ takes 120–180 minutes. Professional teams using pre-built panels can cut on-site time to 15–30 minutes regardless of wall size.