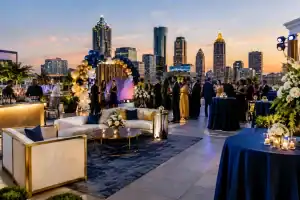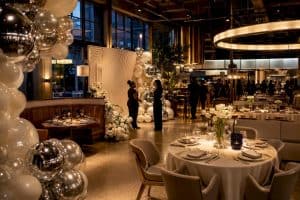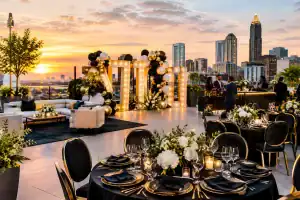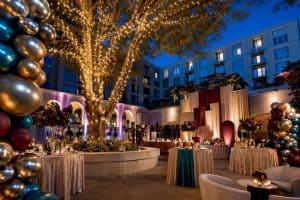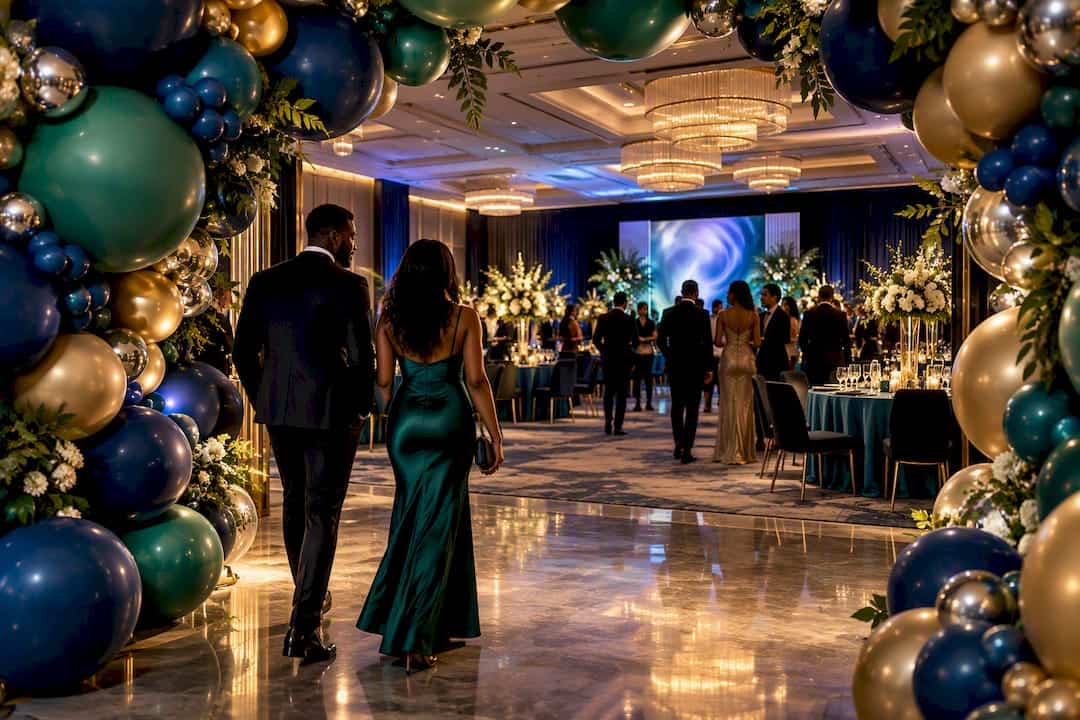
For most luxury events and photo-driven celebrations, a custom organic balloon tunnel delivers the most camera-ready entrance, while an inflatable PVC tunnel wins when heavy branding or multi-day outdoor durability is the priority. Hire a professional for anything outdoor, large-scale, or press-covered; smaller indoor moments can lean on retail kits. Expect professional installs to start in the mid-hundreds per arch and increase for luxury, fully organic designs.
TL;DR:
- Organic balloon tunnels are ideal for Instagram-worthy entrances but have a shorter lifespan outdoors, lasting about 8 to 12 hours, and start around $1,500 for professional installation.
- Inflatable PVC tunnels are best for outdoor, branded, or multi-day events, as they are weatherproof, customizable with printed graphics, and typically cost over $1,000 per arch section.
- Proper sizing requires at least 8 to 10 feet of width for comfortable guest flow, with additional clearance needed for accessibility, ceiling heights, and fire code restrictions.
- A site walk 24 to 48 hours before the event helps confirm clearance, power sources, rigging points, and wind safety thresholds, which are crucial for outdoor setups.
- Maintaining the tunnel’s appearance throughout the event involves regular checks every 60 to 90 minutes, especially near entry points, and choosing foil or Mylar accents for multi-day durability.
Table of Contents
- What Is a Balloon Entrance Tunnel, and Which Style Fits Your Event?
- How Wide and Tall Should a Balloon Tunnel Be?
- Which Materials Last Through a Full Event Without Sagging?
- How Much Does a Balloon Entrance Tunnel Cost?
- What Should Be on Your Setup and Safety Checklist?
- Should You Hire a Professional or Build the Tunnel Yourself?
- Why Author Credentials and Studio Experience Matter Here
- How Do You Keep a Tunnel Looking Fresh All Night?
- What Luxury Event Styling Gets Right (and Where Planners Go Wrong)
- Ready to Book Your Custom Balloon Tunnel?
- Sources
- FAQ
What Is a Balloon Entrance Tunnel, and Which Style Fits Your Event?
A balloon entrance tunnel is a walk-through passage built from a series of connected arches or an inflatable structure, designed to turn a doorway into an experience. Guests don’t just enter a room, they pass through a moment, and that shift in perception is exactly why tunnels have become the signature opener for galas, product launches, and milestone birthdays across Atlanta.
The style you choose changes everything about how the entrance feels and photographs.
- Organic balloon tunnel: Clustered latex in varied sizes creates a lush, textured look with visual depth. Ideal for weddings, baby showers, and any moment where the entrance itself needs to be Instagram-worthy.
- Linked-arch tunnel: A repeating series of classic arches spaced along a walkway. Great for grand openings and red-carpet moments where you want rhythm and repetition rather than one continuous canopy.
- Foil or metallic square-foil tunnel: Reflective panels catch light and read as high-shine and modern. Works well for corporate brand activations and New Year’s or awards-night themes.
- Inflatable PVC tunnel: A sealed, blower-fed structure, often dye-sublimation printed with logos or artwork. Vendors custom-build these tunnels with printed graphics and secure them with continuous-run blowers, making them the go-to for sponsor walkouts and outdoor festivals.
- Illuminated tunnels: Any of the above styles paired with LED uplighting or embedded fairy lights inside clear bubble balloons, stretching the wow factor into evening events.
Corporate activations tend to favor bold, brand-matched palettes: chrome and jewel tones, or a client’s exact logo colors. Social events lean softer, think champagne, dusty rose, and gold for a wedding, or citrus and cream for a baby shower reveal. Choosing a tunnel over an arch signals an immersive journey rather than a simple gateway, so reserve tunnels for moments where you want guests to feel suspense building as they walk through, and save open arches for spots where sightlines and wayfinding matter more.
Pro Tip: If your entrance will be photographed or filmed, request a matte finish on latex sections. Gloss balloons throw hot spots under flash photography that flatten the depth you paid for.
How Wide and Tall Should a Balloon Tunnel Be?
Sizing mistakes are the number one reason tunnels feel cramped instead of grand. Professional installers generally recommend at least 8 to 10 feet of width for comfortable two-way guest traffic, and that number should climb for events expecting formal wear, strollers, or wheelchairs moving through at once.
Before you commit to a design, walk the venue with these checkpoints:
- Measure the approach line. Guests need a clear sightline into the tunnel from at least 15 to 20 feet back, so the entrance reads as intentional rather than sudden.
- Check ceiling clearance. Indoor tunnels typically run 8 to 10 feet tall; confirm sprinkler heads, HVAC vents, and light fixtures sit above your structure with margin to spare.
- Confirm door swing and service routes. A tunnel that blocks a fire exit or catering path will get flagged by venue staff on event day, not before.
- Verify rigging points. Ask whether the venue allows ceiling anchors, pipe-and-drape frames, or floor-based weighted stands, since each changes your design options.
- Plan for accessibility. Keep a minimum 36-inch clear path free of balloon clusters or base weights so wheelchair and service-animal access stays unobstructed.
Venues with strict fire codes may cap how far a tunnel can extend into a hallway or how close balloons sit to exit signage. Confirm those rules with your venue coordinator before finalizing a layout.
Which Materials Last Through a Full Event Without Sagging?
Material choice determines whether your tunnel still looks sharp for the last guest photo or starts drooping by cocktail hour.
- Latex balloons: The most versatile and photogenic option, but the least durable outdoors. Latex typically holds up for 8 to 12 hours outdoors versus 12 to 24 hours indoors, which matters if your entrance needs to survive an all-day corporate expo.
- Foil or Mylar accents: Far more UV-resistant, often lasting several days even in direct sun, making them the smarter add-in for multi-day trade shows or festival entrances.
- Inflatable PVC: Built for repeat use and heavy branding, these structures are constructed with weatherproof material and printed graphics meant for outdoor sponsorship activations, but they lack the soft, organic texture that photographs so well for weddings.
Weight, transport, and storage also factor in. Latex clusters are light and easy to build on-site but bulky to store pre-assembled. PVC inflatables pack down flat but need a dedicated blower and power source running continuously.
Latex allergies are uncommon but real, so ask your planner or venue whether any guests need a foil-only zone near the entrance. If sustainability matters to your event, ask your decor vendor about biodegradable latex and proper deflate-and-dispose protocols rather than releasing balloons outdoors.
How Much Does a Balloon Entrance Tunnel Cost?
Budget ranges swing widely based on scale, materials, and how much custom branding you need. Retail DIY kits can run under $200 for a small indoor doorway, but that number climbs fast once you add height, density, and professional labor.
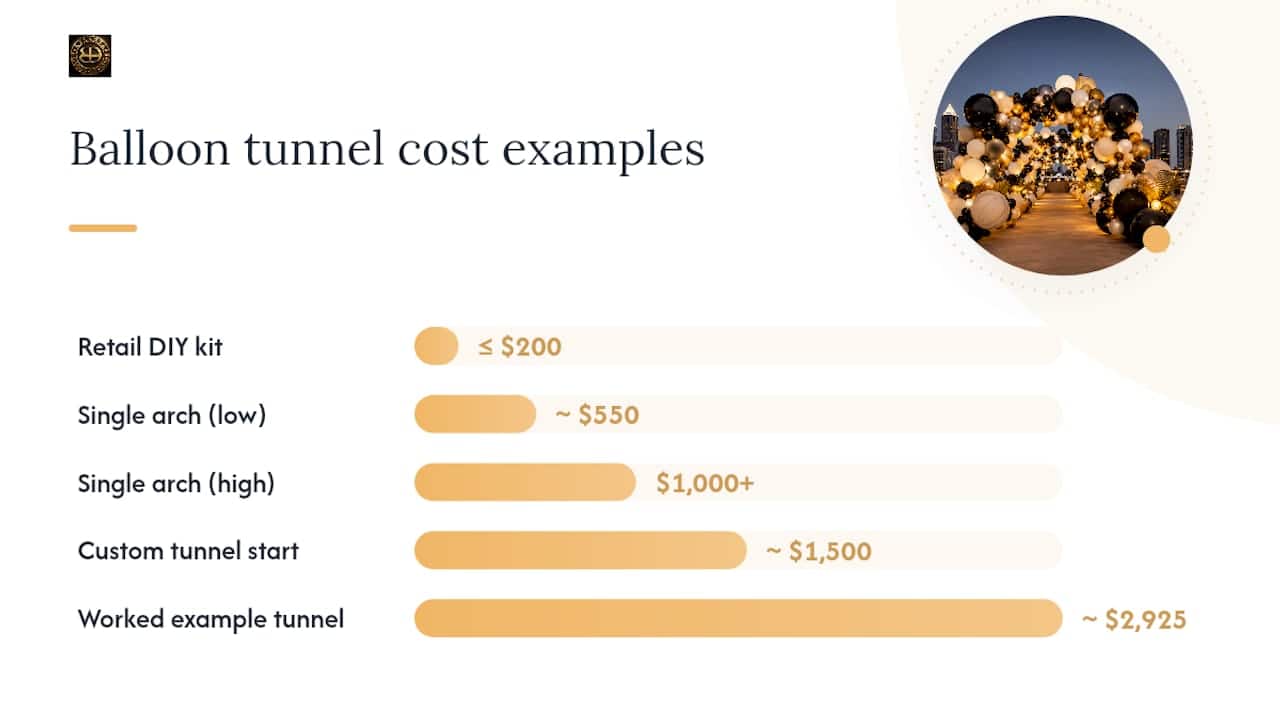
Custom balloon tunnels commonly start around $1,500 for full professional installs, with individual arch sections priced anywhere from roughly $550 to well over $1,000 each depending on size and finish. A luxury organic design with dense clustering and layered textures sits at the top of that range.
The biggest levers driving your final quote:
- Number of arch sections in the tunnel, since each one adds labor and material hours.
- Balloon density and mix (all-latex vs. latex plus foil accents plus specialty shapes).
- Printed branding or logo integration, which usually requires the inflatable PVC route rather than balloon clusters.
- Lighting, especially embedded LED uplighting, which adds both rental and setup cost.
- Crew hours and travel, particularly for venues outside a designer’s core service radius.
A quick worked example: a 20-foot tunnel built from four linked arches at roughly $700 each, plus a flat delivery, setup, and strike-down fee starting around $125, lands near $2,925 before lighting or branded add-ons. If budget is tight, trim the tunnel length rather than the density per arch. A shorter, richer-looking tunnel almost always outperforms a long, sparse one in photos.
What Should Be on Your Setup and Safety Checklist?
A tunnel that looks perfect at 4 p.m. and collapses by 7 p.m. isn’t a design problem, it’s a setup problem. Run through this sequence before doors open:
- Do a site walk 24 to 48 hours out. Confirm floor type, ceiling height, and where blowers or power strips can run without crossing guest paths.
- Test power sources for blowers. Inflatable PVC tunnels need continuous power; map outlets and extension cord routes before install day, not during it.
- Anchor for wind if outdoors. Base weights on both sides of each arch, plus secondary tie-downs, are standard practice for structures exposed to any breeze, and installers should have a clear wind threshold at which the tunnel gets taken down early.
- Confirm permits and insurance with the venue. Many venues require documented rigging plans and proof of insurance before approving large-scale installs, so ask this in your first vendor call, not your final walkthrough.
- Label latex sections near food and beverage areas so allergy-conscious guests can route around them.
- Assign a monitor during the event to check anchor points periodically and manage helium cylinders safely if any are on-site.
Pro Tip: Ask your vendor for their wind-speed cutoff in writing. A verbal “we’ll keep an eye on it” is not a backup plan when gusts hit 20 miles per hour during an outdoor cocktail hour.
Should You Hire a Professional or Build the Tunnel Yourself?
The honest answer depends on exposure, not just budget. A small backyard birthday tunnel is a reasonable DIY project. A press-covered grand opening, an outdoor corporate activation, or anything with more than 100 guests moving through in formal wear is not.
Weigh these factors before deciding:
- Scale and public exposure. Larger, more visible installs carry higher failure consequences and benefit from professional rigging plans.
- Outdoor risk. Wind and heat cut latex lifespan dramatically, so outdoor tunnels almost always need pro-grade anchoring.
- Timeline pressure. If your team is juggling ten other setup tasks, a pro-led install frees up hours you don’t have.
- Budget flexibility. Hybrid options exist. Some studios offer pro-prepped kits you assemble on-site, splitting the difference between full DIY and full-service.
When vetting a vendor, ask directly for a digital mockup before you commit to a design, request a site visit, and confirm their cancellation and weather backup policy in writing. A vendor who can’t produce a rigging plan or hesitates on insurance questions is a red flag worth walking away from.
Why Author Credentials and Studio Experience Matter Here
This guide comes from Kay at Atlanta Balloon Designer LLC, an award-winning luxury event styling studio based in Austell, Georgia, serving the greater Atlanta metro within roughly a 60-mile radius. Every tunnel recommendation here reflects real installation logistics, not generic decor advice.
A typical tunnel package includes a custom digital mockup, a site visit to confirm rigging and clearance, premium latex and accent materials, and full delivery, setup, and teardown. Corporate clients booking through the services page can expect vendor coordination handled end-to-end, so the entrance is one less thing to manage on event day.
Lead times for custom tunnels generally run several weeks out for standard designs and longer for luxury organic builds with dense clustering or branded elements. Booking early protects your date and gives time for a proper mockup review.
How Do You Keep a Tunnel Looking Fresh All Night?
A tunnel that looks stunning at setup can lose shape fast if runtime maintenance gets overlooked. Latex softens and shrinks slightly as temperatures shift, especially near HVAC vents, doorways, or direct sun exposure at outdoor cocktail hours. Position a crew member or venue liaison to do quick visual checks every 60 to 90 minutes, watching for sagging clusters, loosened ties, or balloons drifting from wind gusts near open doors.
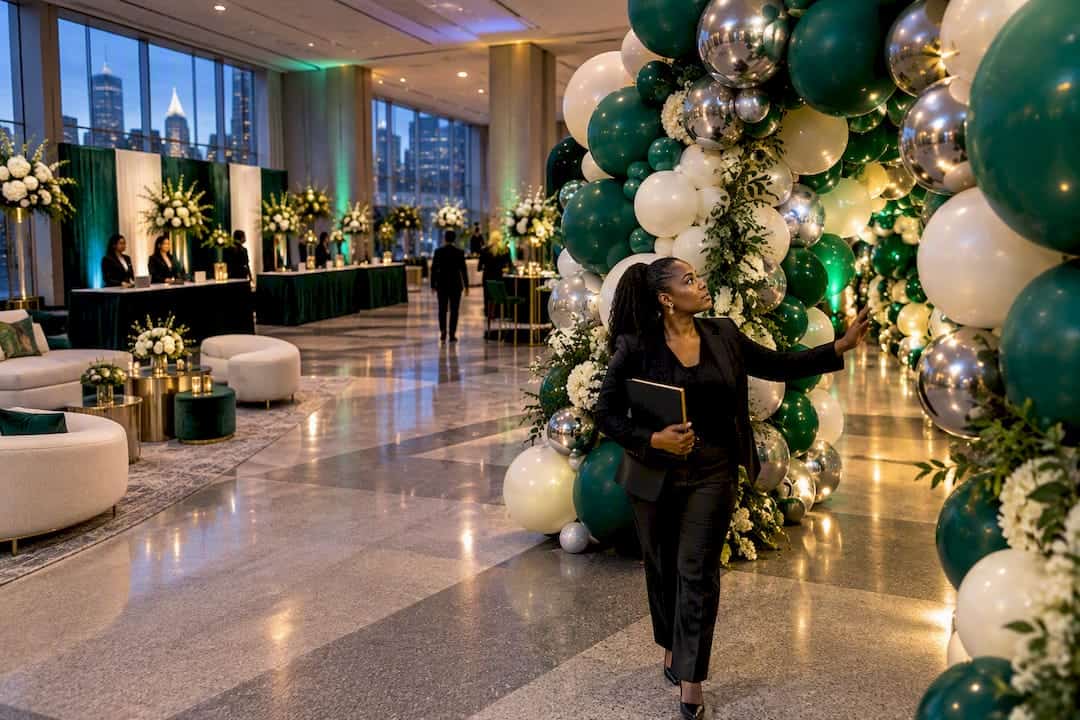
Guest traffic itself is a durability factor most planners underestimate. Hundreds of hands brushing against a tunnel wall over several hours will loosen individual balloons, particularly near the entrance point where photos happen most. Design with a slightly denser cluster pattern near the first few feet of the tunnel to buy extra visual buffer as the night wears on.
For multi-day corporate activations, foil and Mylar sections hold their shape and shine far longer than all-latex builds, which is why brand-heavy installs often blend materials rather than going all-organic. If your event runs past sunset, check LED uplighting battery life and cable connections during your pre-event walk so nothing goes dark mid-reception. A five-minute mid-event touch-up, tucking loose balloons and straightening a sagging arch, is standard practice among experienced crews and costs nothing but attention.
What Luxury Event Styling Gets Right (and Where Planners Go Wrong)
The conventional advice on balloon tunnels obsesses over color palettes and Instagram angles while skipping the boring parts that actually determine whether the entrance survives the event. That’s backwards. A gorgeous tunnel that sags by hour three or gets shut down by a fire marshal for blocking an exit does more brand damage than a slightly simpler design that holds up all night.
What the research here actually supports is a sequencing problem: planners pick the aesthetic first and the venue logistics second, when it should run the other way. Clearance, anchoring, and permit rules should shape the design brief before a single balloon color gets chosen. An 8 to 10 foot minimum width isn’t a suggestion, it’s the difference between an entrance that flows and one that creates a bottleneck at your most photographed moment.
If you take one thing from this guide, prioritize the site visit before the mood board. A tunnel that’s structurally sound and modestly styled will always outperform a showstopper design that wasn’t built for the room it’s standing in.
— Kay
Ready to Book Your Custom Balloon Tunnel?
This studio offers services that handle the mockup, site visit, and full install in one coordinated booking instead of clients juggling separate vendors. A typical tunnel project starts with a digital mockup so you can approve the look before a single balloon is inflated, followed by an optional site visit to confirm rigging, clearance, and power access ahead of your date.

Packages build from the Spiral Balloon Arch and Organic Balloon Arch pricing up to fully custom Luxury Organic tunnels, with delivery, setup, and strike-down handled by our team across Atlanta and surrounding communities within roughly 60 miles, including Marietta, Roswell, and Buckhead. Corporate planners booking a branded activation can also review full logistics on our services page. Lead times fill up fastest around spring and holiday seasons, so reach out now to request pricing and lock in your event date.
Sources
- Inflatable Entrance Tunnel: What Is It, How Is It Made, And What Is It – MVP Visuals
- Inflatable entrance tunnel vs inflatable arch: which is better for your event entrance? – Hello Inflatables
- Building a balloon arch that actually lasts | Eventory
FAQ
How Much Does a Balloon Arch or Tunnel Cost?
Professional balloon arches typically start around $600 to $700 for organic styles, with Atlanta Balloon Designer’s Spiral and Organic Balloon Arch options starting from $600 and $700 respectively. Full custom tunnels built from multiple linked arches commonly start near $1,500 once labor, materials, and setup are included.
What Is the Average Price for a Balloon Wall?
Balloon walls and backdrops vary by size and density, and pricing is best confirmed directly since it depends on dimensions and design complexity. Atlanta Balloon Designer’s current pricing page lists exact package rates, and a quick quote request will give you an accurate number for your specific event.
How Do You Build a Balloon Archway That Lasts?
Start with a secure frame or structural base, then anchor with weights on both sides and secondary tie-downs if the arch will be outdoors or in a high-traffic area. Pro installers confirm wind exposure and rigging plans before build day, which is the step most DIY builds skip and later regret.
How Do You Make Balloons Fall When a Door Opens?
This effect, often called a balloon drop, uses a mesh net or bag filled with balloons secured above a doorway with a quick-release trigger, typically a pull string or ribbon. It’s a different technique from a walk-through tunnel, and it works best as a complementary surprise moment rather than the main entrance feature.
Should I Choose a Balloon Tunnel or an Inflatable PVC Tunnel?
Choose a balloon tunnel for photo-driven, luxury moments like weddings and milestone birthdays, since organic clusters photograph with more depth and texture. Choose an inflatable PVC tunnel for branded, outdoor, or multi-day events where durability and logo visibility matter more than organic texture.