For most branding needs, order printed latex balloons for bulk giveaways and choose foil or bubble balloons for premium photo displays, and simplify your logo before you submit any artwork. Latex wins on cost and float time for high-volume moments; foil and bubble balloons win on color fidelity and longevity when the branding has to survive a full event day. Either way, a clean, bold logo prints better than a detailed one, on every material and every method.
TL;DR:
- Latex balloons are ideal for large-scale giveaways due to their low cost and hours-long float time with Hi-Float treatment, but they may distort small or detailed logos when inflated fully.
- Foil and Mylar balloons provide sharper images and longer durability, making them better suited for multi-day events or high-visibility displays where color fidelity and precise branding matter.
- For reliable printing, submit simplified, bold vector artwork with color references, safe margins, and size callouts; digital proofs and physical samples are essential for large or brand-critical projects.
- Digital and UV printing enable full-color logos with gradients and photographic elements, especially beneficial for short runs and custom shapes, whereas screen printing suits bulk, limited-color needs.
- Proper planning, including early approval of proofs, correct material choice, and strategic placement, maximizes branding visibility and minimizes on-site errors during balloon installations.
Table of Contents
- What Is the Best Logo Balloons Guide Approach for Most Events?
- Balloon Types and When to Use Each
- Preparing Artwork and File Specs That Print Reliably on Balloons
- Printing Methods and What They Mean for Design, Cost, and MOQ
- Quantities, Pricing, and Realistic Lead Times
- Design Placement and Display Ideas That Maximize Visibility
- Ordering, Proofing, and On-Site Setup Checklist
- A Luxury Studio Workflow: How Atlanta Balloon Designer Manages Logo-Balloon Projects
- Safety Guidelines and Regulations for Balloon Usage
- Sustainability and Eco-Friendly Balloon Options and Disposal
- What This Guide Gets Right That Most Advice Skips
- How Atlanta Balloon Designer Turns Your Logo Into a Branded Installation
- Sources
- FAQ
What Is the Best Logo Balloons Guide Approach for Most Events?
That single decision, latex for volume, foil or bubble for premium visuals, solves roughly 80% of the sourcing questions event planners bring to a printer.
Custom logo balloons work as branded décor only when three things line up: the right material for the job, artwork that survives the printing process, and a display strategy that gets the logo seen. Skip any one of those and you end up with balloons that look fine in the studio and blurry in event photos. This guide walks through each piece in the order you will actually need it, from material selection through on-site setup.
Balloon Types and When to Use Each
Material choice is not cosmetic. It determines your cost per unit, how long the branding stays airborne, and how sharp the logo looks up close.
Latex balloons remain the workhorse for logo branding because they are inexpensive at scale and float for hours once treated with Hi-Float, a gel sealant that slows helium loss and can stretch float time to a day or more. They are the right call for grand openings, trade show giveaways, and any activation where you need hundreds of branded balloons in guests’ hands. The trade-off is print detail. Latex stretches as it inflates, so fine lines and small text can distort slightly at full expansion.
Foil and Mylar balloons hold sharper edges and richer color because the printing surface does not stretch the way latex does. They last for days rather than hours, which makes them the better choice for a multi-day conference booth or a retail window display. Foil also comes in shaped options, letters, numbers, custom die cuts, when a logo silhouette needs to read instantly from across a room.
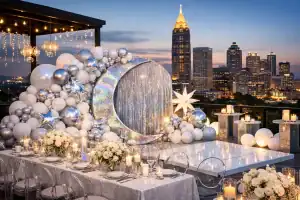
Bubble balloons, the clear, deco-style spheres, give logos an upscale, almost suspended-in-glass look. They are popular for luxury photo backdrops and step-and-repeat walls where the client wants the branding to feel elevated rather than promotional.
Size matters as much as material:
- 11 inches (28cm): giveaways, bouquets, and tabletop clusters
- 24 inches (60cm): columns, garlands, and mid-height accents
- 36 inches (90cm): entrance statements and anchor pieces in arches
Finish choices, metallic, chrome, or crystal clear, change how light interacts with the logo. Metallic finishes hide small print imperfections well; crystal finishes show every printed detail, which is exactly why they suit simple, one-color marks better than busy ones.
Preparing Artwork and File Specs That Print Reliably on Balloons
Most reprint requests trace back to the same root cause: artwork submitted the way it looks on a business card instead of the way it needs to look on a curved, stretching latex surface. Vector files (AI, EPS, or PDF) reduce print errors dramatically compared to raster images, according to file-prep guidance from Everts-Pol, which also recommends 300 DPI at 1:1 scale for any raster elements you cannot avoid.
Here is the file-prep sequence that keeps proofs moving instead of bouncing back for revisions:
- Start with a vector file. AI, EPS, and layered PDF files scale cleanly to any balloon size without pixelation.
- Simplify before you submit. Practitioners who specialize in balloon lettering and logo design recommend bold, simplified marks because gradients and hairline strokes frequently fail once the surface curves and stretches.
- Limit your color count. Fewer colors mean fewer setup steps and fewer places for registration to drift.
- Convert every font to outlines. This prevents substitution errors if the printer’s software does not have your exact typeface.
- Supply Pantone swatches, not just screen colors. RGB and CMYK both shift on press; a Pantone reference anchors the printer to your actual brand color.
- Build in safe margins. Center the logo and leave generous buffer space, because inflation distortion can crop or curve a design that was placed too close to the edge.
- Add size callouts. Note the exact balloon diameter next to your artwork so the printer scales correctly on the first pass.
- Request a digital proof, and a physical sample for large runs. A screen proof catches layout errors; a physical sample catches color and material issues a screen cannot.
Color matching deserves its own note. CMYK printing can shift warm brand colors, especially reds and oranges, so if brand fidelity is mission-critical for a large installation, coordinate proofs against physical Pantone chips and request an actual printed sample rather than approving from a photo, a step industry marketing guidance specifically recommends for big branded builds.
Pro Tip: Submit a one-color, single-size version of your logo for the first proof round, even if your final order needs multiple colors and sizes. Approving the simplest version first isolates font, spacing, and placement problems before color complexity gets added on top.
Printing Methods and What They Mean for Design, Cost, and MOQ
The print method your supplier uses shapes what your logo can look like almost as much as your artwork does.
Screen printing is the standard for high-volume, single or limited-color logos. It is cost-effective at scale and produces solid, opaque ink, but setup costs climb with every additional color because each color needs its own screen. This is the method behind most stadium giveaways and grand-opening balloon drops.
Pad printing transfers detailed images onto irregular or curved surfaces, and it is particularly suited to small, contoured objects where screen printing struggles to make even contact. For balloons, that makes it a fit for smaller specialty shapes or accent pieces rather than large-run standard rounds.
Digital and UV printing handles full-color artwork and photographic detail on foil, Mylar, and bubble balloons, and it is often the preferred method when a design has gradients, shading, or a photo-quality image that screen printing simply cannot reproduce. It also removes the old barrier to small custom orders.
That shift matters more than it sounds. Short runs and one-off personalization are now realistic at reasonable cost thanks to digital and UV printing, reversing the old rule that forced buyers into large minimum orders just to get custom art on a balloon.
Quick comparison of what each method handles well:
- Screen printing: best for one or two solid colors, high quantities, tight budgets
- Pad printing: best for small or irregularly shaped pieces needing fine detail
- Digital/UV printing: best for full-color logos, gradients, photo elements, and short runs
If your logo has more than two colors or any gradient, ask your supplier directly which method they intend to use before you approve final art. A screen printer forcing a gradient-heavy logo into two flat colors will change your brand’s look more than most clients expect.
Quantities, Pricing, and Realistic Lead Times
Budgeting for logo balloons means accounting for four moving parts: minimum order quantity, per-unit price, production time, and the extras that quietly add up.
Minimum order quantities vary sharply by method. Screen printing MOQs run highest because setup costs need volume to justify them. Digital and UV printing MOQs run lower, sometimes low enough for a single small batch, since there is no screen to set up per color. Foil balloon MOQs sit in between, shaped mostly by the die-cutting or shaping cost involved.
Per-unit costs follow a predictable curve: small runs cost more per piece because setup and proofing get spread across fewer units, while bulk orders in the hundreds or thousands bring the per-piece price down substantially. Extra ink colors, custom shapes, specialty finishes like chrome, and physical pre-production samples all push cost upward, so decide early which of those actually matter for your event.
Production timelines typically run through three stages:
- Artwork approval and proofing (fastest when you follow the file-prep checklist above)
- Printing and quality control
- Shipping and, for large installs, delivery scheduling to the venue
Rush production is usually available but compresses the proofing stage, which raises the risk of missing an error. Build in buffer time whenever the event date allows it, and remember to budget for inflation labor, helium, and Hi-Float treatment separately from the printed balloon cost itself. Those line items are easy to forget until installation week.
Design Placement and Display Ideas That Maximize Visibility
Printing a great logo balloon is only half the job. Where you put it determines whether anyone actually sees the branding.
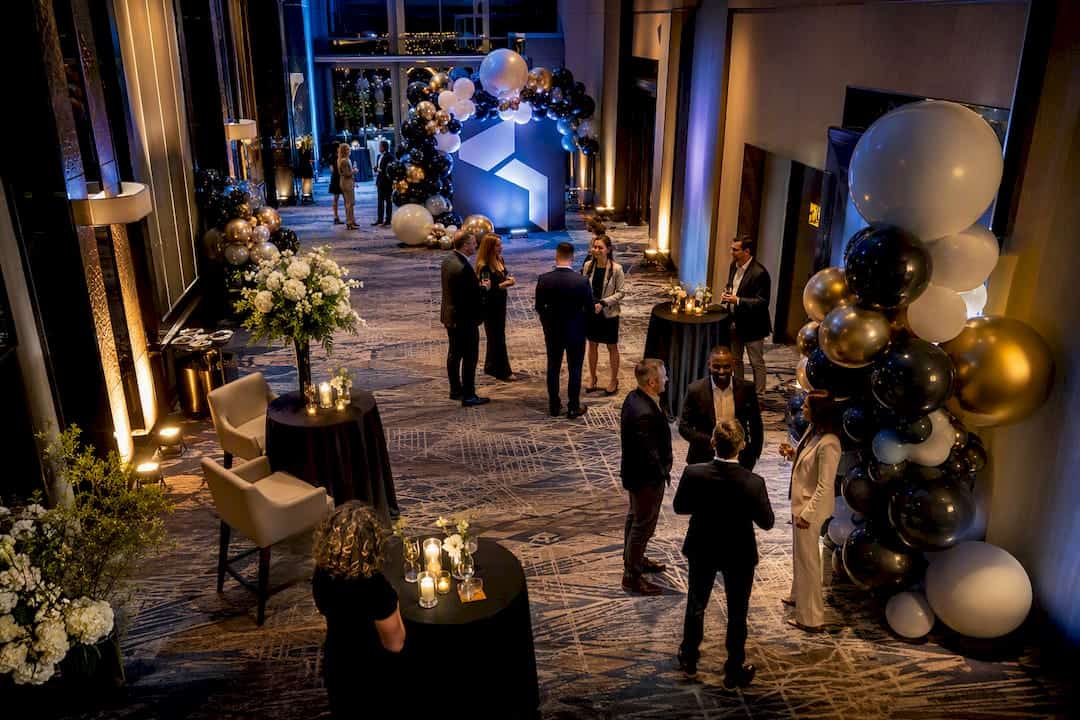
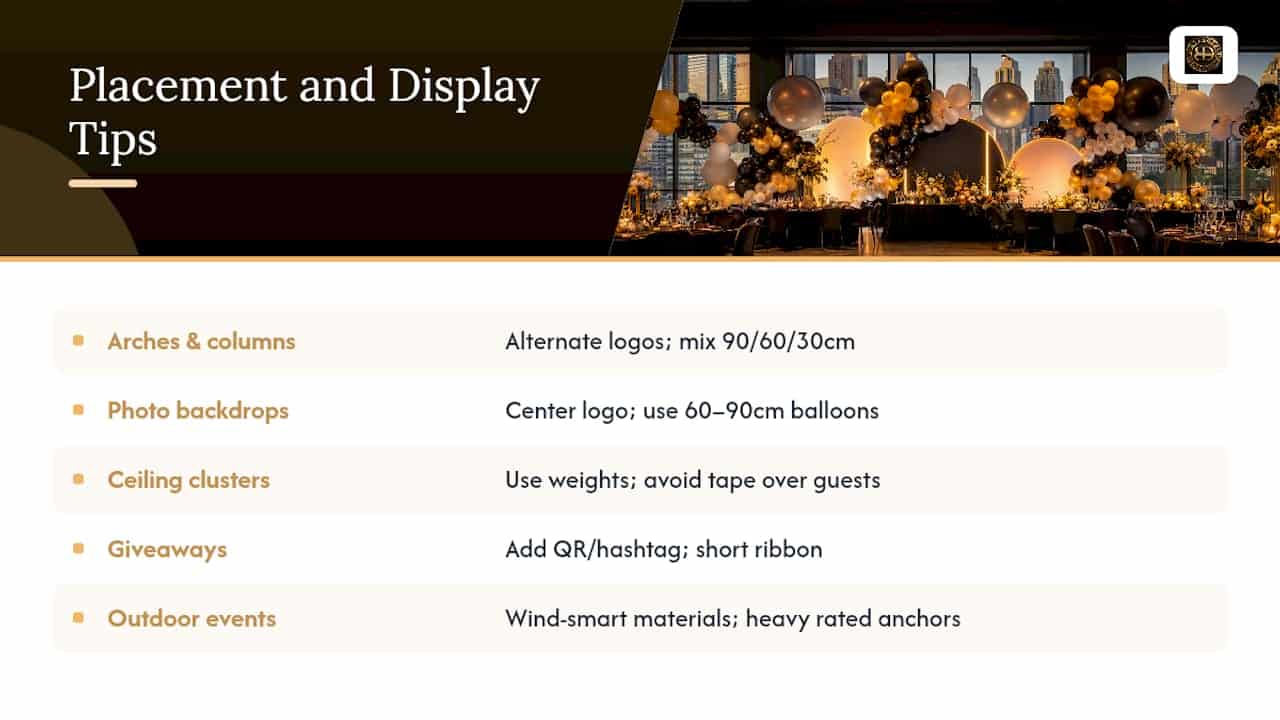
Entrance arches and columns work best when branded balloons alternate in a deliberate rhythm rather than scattering randomly through the design. Mixing balloon diameters, 90cm anchor balloons near the base, 60cm balloons through the body, 30cm balloons filling gaps, creates depth while keeping the logo balloons visually prioritized at eye level.
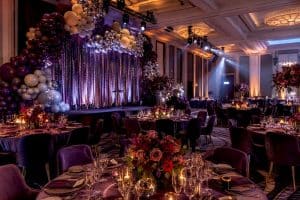
Photo backdrops and walls need the logo centered with real negative space around it, not crowded against other elements. Event-planning guidance consistently points to larger balloons, in the 60 to 90cm range, for backdrop installs because they produce better framing and legibility in photos than a wall of small balloons ever does. A cluttered cluster of tiny logo balloons might look impressive in person and read as noise in a phone camera.
Ceiling clusters and floating installations need proper anchor weights and spacing so the branding stays visible and the structure stays safe overnight. Never rely on tape or light adhesive for anything suspended over guest areas.
Giveaway balloons can double as marketing tools. Attaching a QR code and event hashtag turns a simple takeaway into a trackable touchpoint, and a well-placed QR code with a short URL can generate measurable engagement after the event ends. Keep ribbon length short around young children and skip small detachable accessories for anywhere kids will be holding balloons unsupervised.
Outdoor events call for wind-smart material choices and heavier anchoring; foil balloons handle gusts differently than latex, and any large outdoor cluster needs weighted bases rated for the expected wind conditions. For a deeper look at building arches specifically for photo moments, this balloon arch backdrop guide covers construction details worth reviewing before your first large install.
Pro Tip: Place your most important logo balloon at the exact height a phone camera naturally lands when someone stands at your designated photo spot, roughly chest to shoulder height for most adults. Branding above or below that band gets cropped out of half the photos guests take.
Ordering, Proofing, and On-Site Setup Checklist
A clean order-to-install process is what separates a smooth activation from a stressful one. Follow this sequence and you eliminate most last-minute surprises.
- Package your files completely. Send vector art, Pantone references, size callouts, and quantity breakdowns together, not across three separate emails.
- Specify exactly what proof you need. Ask for a digital proof at minimum, and a physical sample for any run over a few hundred pieces or any project where color fidelity is non-negotiable.
- Check proofs against your original brief, not just the artwork. Confirm colors, spelling, sizing, and orientation before approving. This is the single most common point where errors slip through.
- Inspect delivery counts and spot-check colors on arrival. Pull several balloons from different boxes, not just the top layer, before signing off on the shipment.
- Schedule inflation with real time buffers. Hi-Float application and helium inflation both take longer than most first-time planners expect, especially for large quantities.
- Plan for staffing. Large installations need enough hands on deck to inflate, anchor, and place branded balloons within the venue’s setup window.
- Build a contingency plan. Know your supplier’s replacement policy, check the weather forecast for outdoor events, and keep a direct line of communication open with your vendor through setup day.
Following the Balloon Council’s handling and safety guidance during this stage protects both your installation and your guests, and it is worth a quick review before any large-scale event.
A Luxury Studio Workflow: How Atlanta Balloon Designer Manages Logo-Balloon Projects
A luxury balloon decor studio runs every branded project through a disciplined sequence: brief, palette, mockup, proof, and install. A brand launch or Fortune 500 activation starts with a discovery conversation about brand colors and event goals, moves into a curated palette and mockup for approval, then into final proofing before a single balloon gets ordered.
That structure matters most for high-stakes work: a national brand launch, a corporate activation for a Fortune 500 client, or a large photo backdrop that has to look flawless in every image guests post. For a birthday giveaway of 200 latex balloons, ordering direct from a printer might be all you need. For a branded step-and-repeat wall anchoring your company’s biggest event of the year, a full-service studio earns its place by catching color and placement problems before they become expensive on-site fixes.
This luxury balloon decor studio serves the greater Atlanta metro area and surrounding communities within roughly 60 miles of Austell, GA, with consistent design rigor for every project, whether corporate or private. Readers weighing a full package against a printer-only order can compare options in our balloon decor package guide.
Safety Guidelines and Regulations for Balloon Usage
Balloon safety comes down to a short list of rules that matter more than people expect once helium and latex are involved at scale.
Never let children handle uninflated or broken balloon pieces unsupervised. Small latex fragments present a choking hazard, which is why The Balloon Council recommends adult supervision around latex balloons for young children at every stage, from inflation through disposal.
Metallic foil balloons conduct electricity. Keep them away from power lines, and never release them outdoors, both for safety and because most municipalities now restrict or prohibit mass balloon releases due to environmental and utility risk.
For large ceiling or overhead installations, weight-rated anchors matter as much as the balloons themselves. A cluster that comes loose over a crowded venue floor is a real hazard, not just a design failure. Venue staff at hotels and convention centers will often have specific rigging or anchoring requirements, so confirm those before install day rather than during it.
Helium tanks used for on-site inflation require proper ventilation and careful handling; commercial events should adhere closely to safety documentation provided by the tank supplier. If your event involves large-scale helium use indoors, ask your venue coordinator about their own policies too; many convention centers and hotels have specific rules about tank storage and inflation zones.
Sustainability and Eco-Friendly Balloon Options and Disposal
Latex balloons are made from natural rubber tree sap, which means they biodegrade over time, unlike foil and Mylar balloons, which are plastic-based and do not break down the same way. That distinction should shape your material choice when environmental impact is part of the client brief.
For eco-conscious events, biodegradable latex paired with responsible disposal practices is the more sustainable path. Deflating and disposing of latex balloons in regular trash after an event, rather than releasing them outdoors, keeps them out of waterways and away from wildlife. Foil balloons should never be composted; they belong in regular waste unless a specialty recycling program in your area accepts mixed plastics.
Reducing helium waste also matters. Over-ordering balloons “just in case” wastes both material and the helium used to inflate them. A tighter, well-planned quantity, sized correctly through the display strategies covered above, does more for sustainability than any single material choice.
Some suppliers now offer balloon-free branded alternatives (fabric backdrops, reusable marquee letters) for clients who want the visual impact without ongoing balloon waste. For events built around repeat use, LED marquee letters and reusable tablescapes can carry brand presence across multiple events without new material waste each time, a detail worth discussing with your event stylist if sustainability sits high on your priority list.
What This Guide Gets Right That Most Advice Skips
Most guidance on custom logo balloons treats printing like an afterthought, a box to check after the “fun” design decisions get made. That ordering is backwards. The file-prep and print-method decisions covered here determine whether your final installation looks like the mockup or looks like a compromise, and by the time balloons are inflated at the venue, it is too late to fix a stretched logo or a color that shifted in CMYK.
The conventional advice oversells screen printing as the default and undersells how much digital and UV printing has changed the economics of small custom runs. If you are ordering under a few hundred pieces with a full-color logo, do not let a supplier push you toward a method built for bulk single-color jobs.
If there is one priority to take from all of this, it is sequencing: simplify the logo, lock the file specs, confirm the print method, then worry about display. Skip straight to placement ideas without nailing the first three, and you will spend your event budget on reproofs instead of on the installation that actually gets photographed.
— Kay
How Atlanta Balloon Designer Turns Your Logo Into a Branded Installation
This studio offers a streamlined process handling custom logo prints, digital proofing, physical color samples, full installation, and venue coordination as a connected service, ensuring branded balloons arrive and are installed as designed.
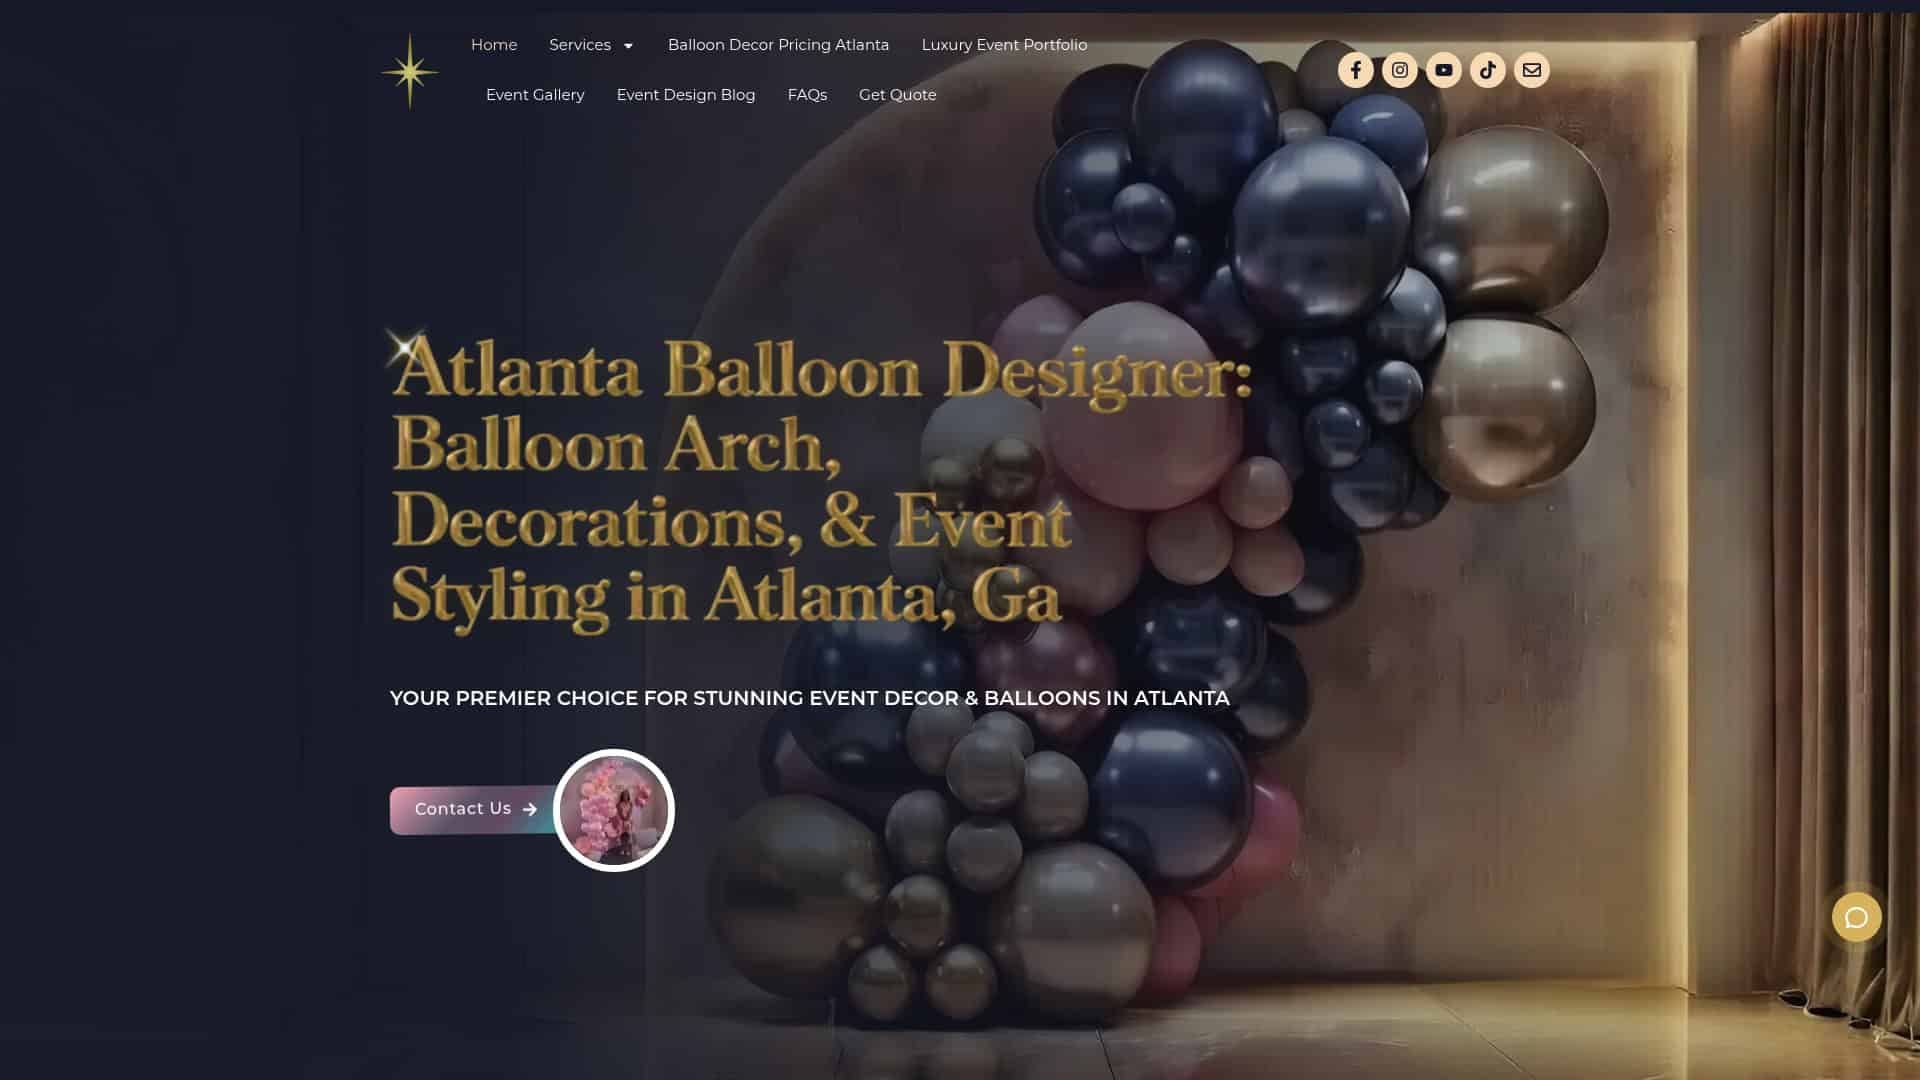
Their team manages everything from brief to install: palette curation, mockup approval, printed and shaped balloon sourcing, and on-site setup for arches, marquee letters, and photo walls in the Atlanta metro area, including coordinating with the Mountain View Menagerie barn wedding venue. If your event involves a brand launch, a corporate activation, or any installation where the logo has to look flawless in every photo, request a quote early. Lead times tighten fast around peak seasons, and complex builds, large photo walls or Fortune 500 activations especially, need more runway than a simple giveaway order. Browse real installation examples in our creative balloon decoration ideas gallery, then contact our Austell studio at 678.203.0200 to start your project brief.
Sources
- The Balloon Council
- Pad printing vs screen printing — Xometry
- How to prepare a graphic file for printing a logo on latex balloons — Everts-Pol
FAQ
What Is the Best Balloon Type for a Logo?
Latex works best for bulk giveaways due to cost and float time, while foil or bubble balloons suit premium displays where color fidelity and longevity matter more than volume.
Should I Use Vector or Raster Files for Balloon Printing?
Vector files (AI, EPS, or PDF) print more reliably because they scale without pixelation; raster files should be at least 300 DPI at 1:1 scale if a vector version isn’t available.
Which Printing Method Is Cheapest for Large Orders?
Screen printing is the most cost-effective method for high-volume, single or limited-color logos, though setup costs increase with each additional ink color.
How Long Do Logo Balloons Stay Inflated?
Untreated latex typically floats for several hours, while latex treated with Hi-Float and foil balloons can stay inflated for a day or more depending on conditions.
Do I Need a Physical Sample Before a Large Order?
Yes, for any large or brand-critical installation, request a physical proof alongside a digital one, since screen colors and printed Pantone matches can differ noticeably.
Is a Full-Service Studio Worth It for a Small Event?
For small giveaways, ordering directly from a printer is often enough, but a full-service studio like Atlantaballoondesigner earns its cost on large installations, brand launches, or any project where a proofing mistake would be expensive to fix on-site.